Choosing the Right Materials for Your Beret
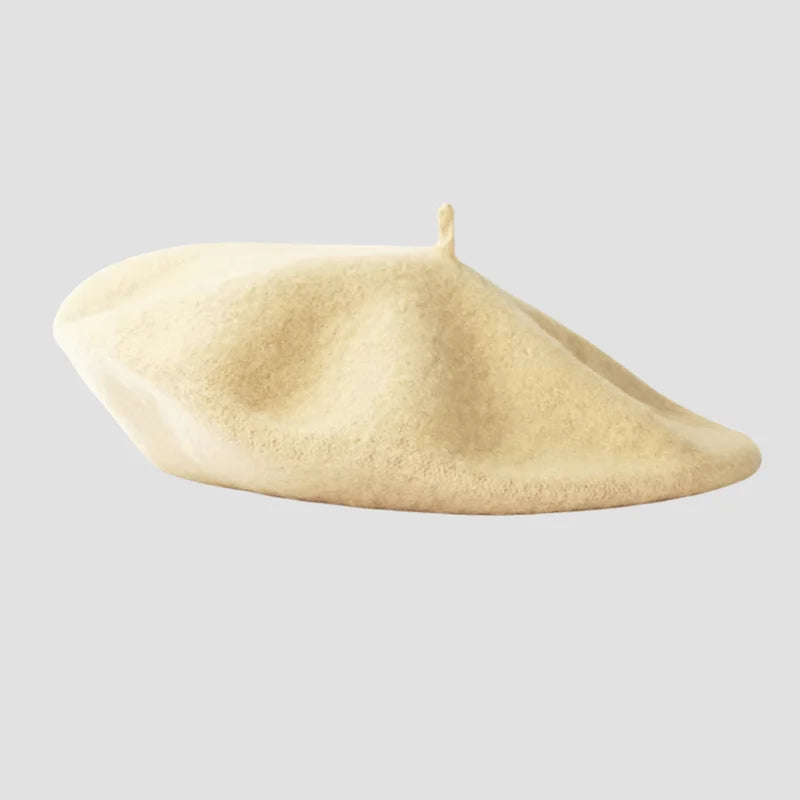
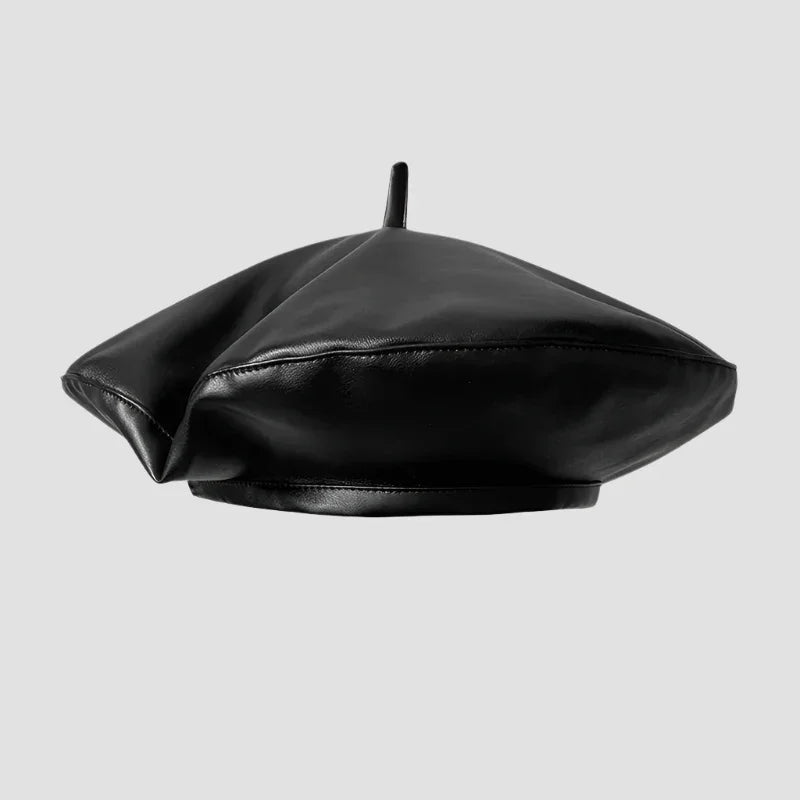
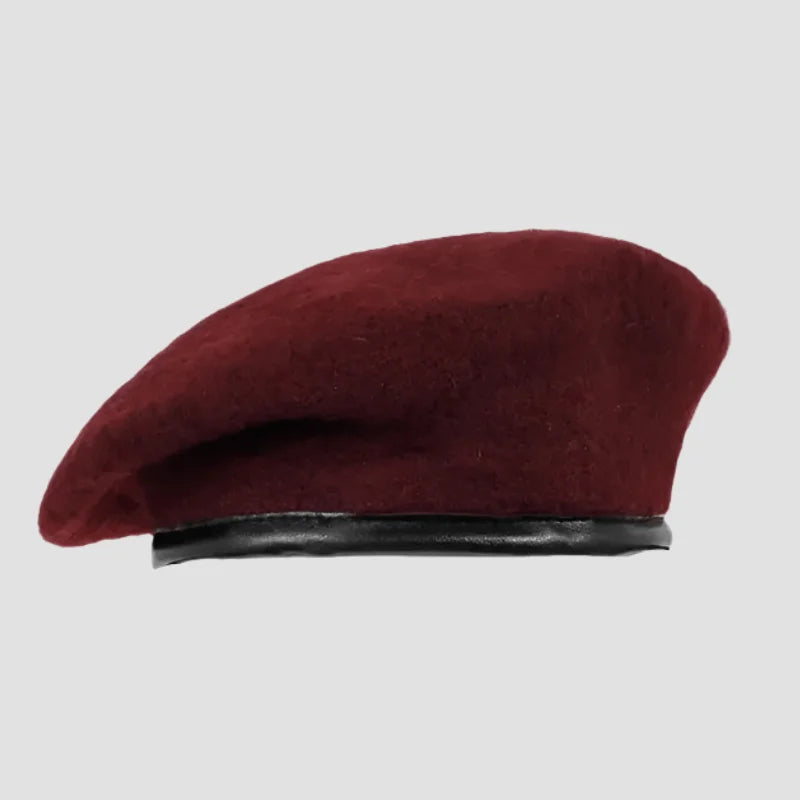
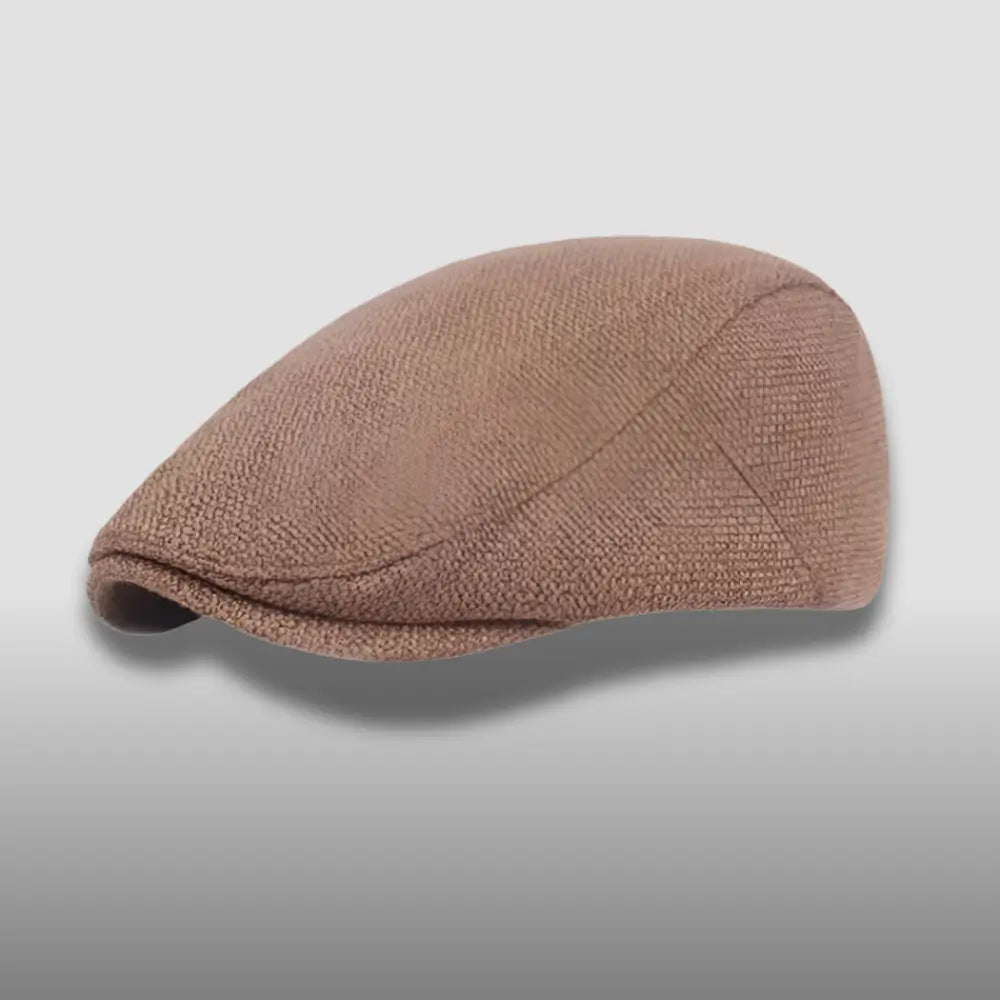
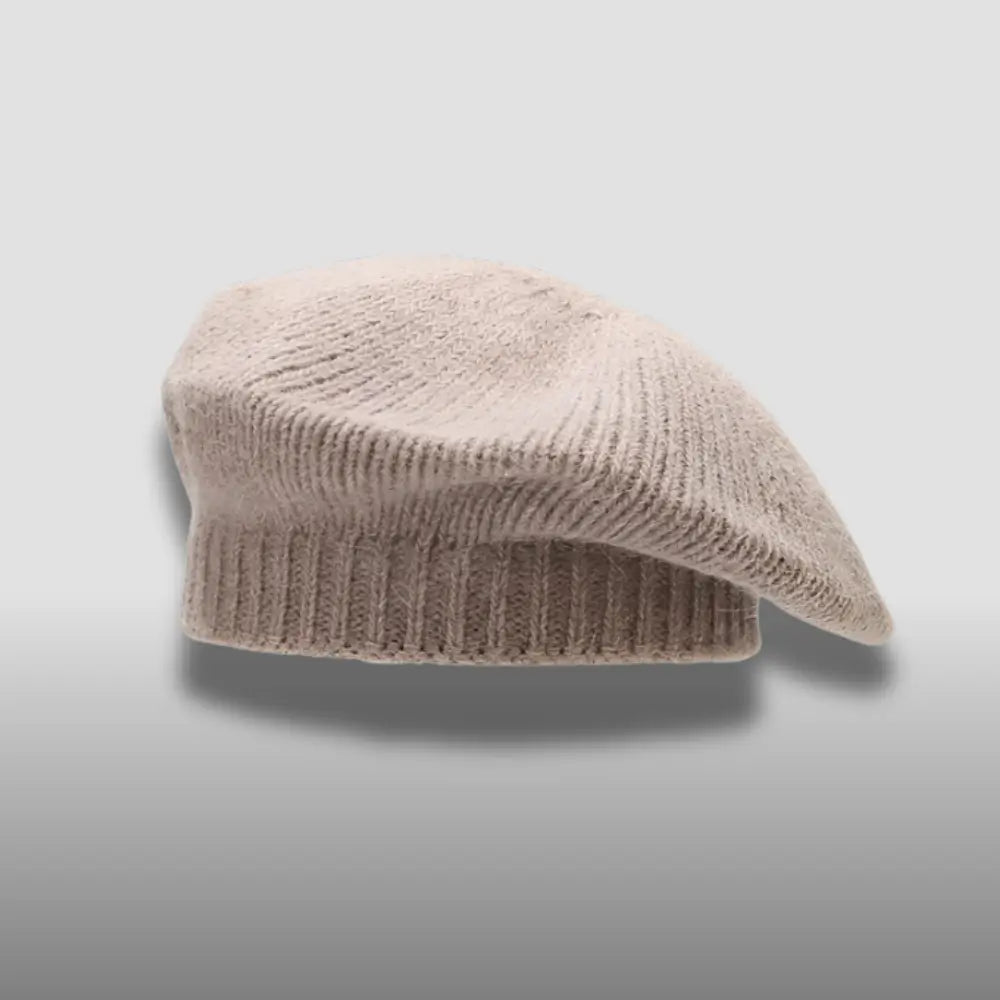
When making a beret, it's important to start with the right materials to ensure a professional-looking result. One key material is the fabric for the beret. Opt for a medium-weight fabric with a bit of stretch, such as wool or a wool blend. This will help the beret maintain its shape and provide a comfortable fit. Additionally, you'll need a lining fabric, interfacing for added structure, and a matching thread.
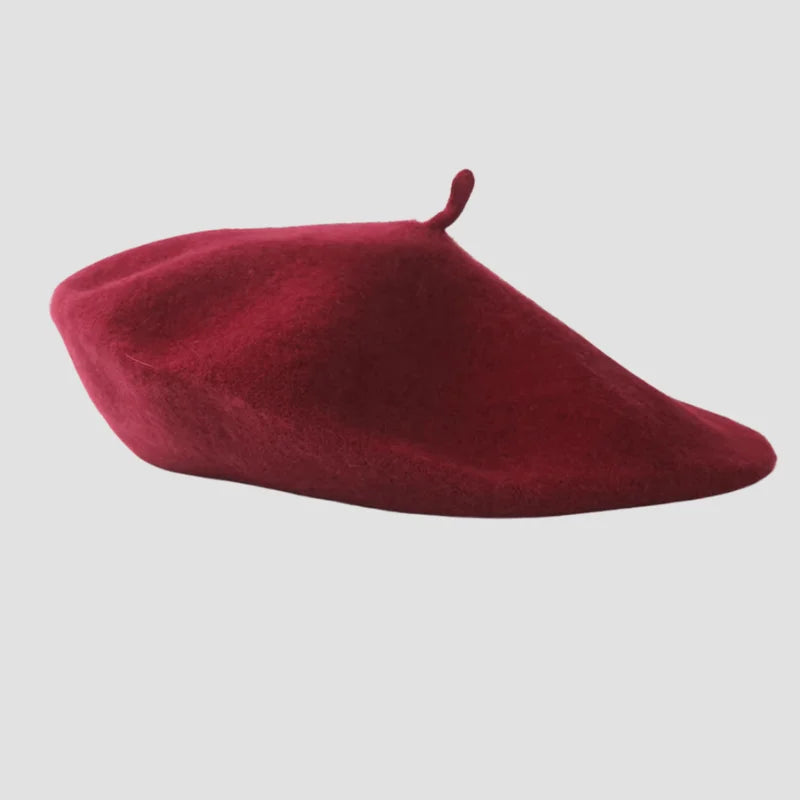
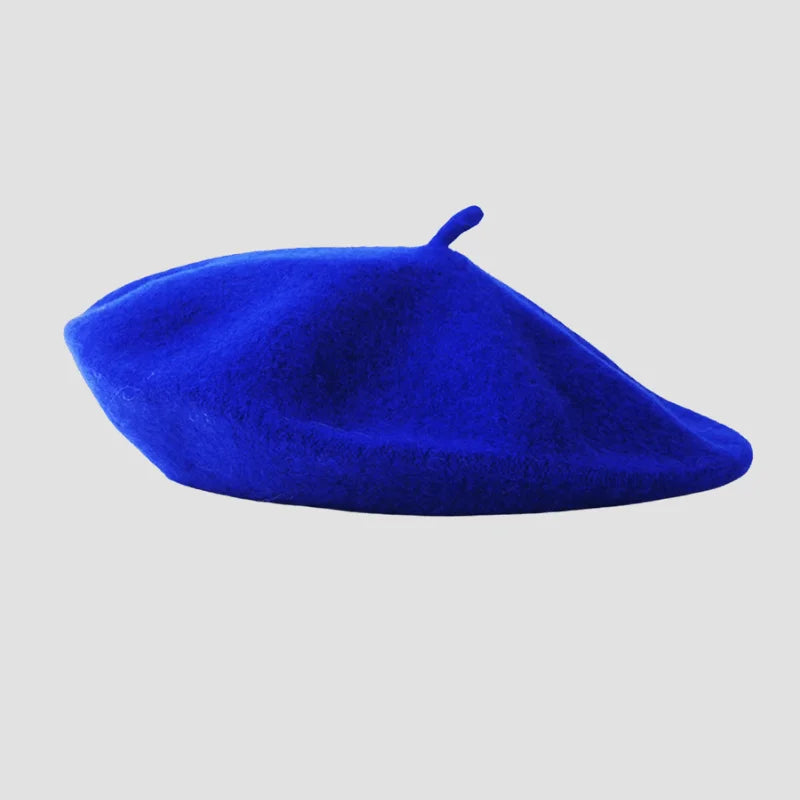
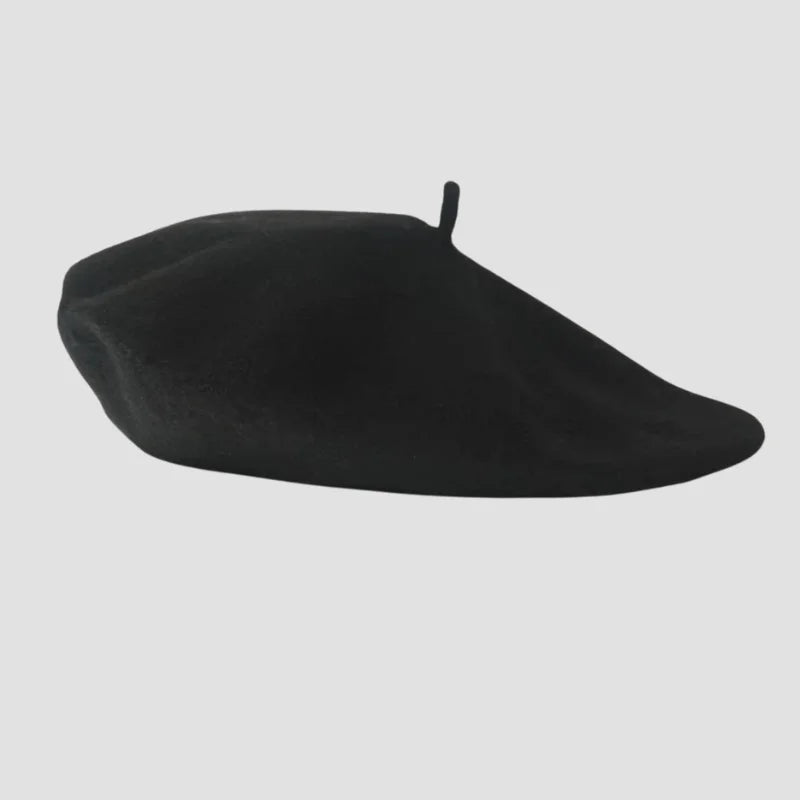
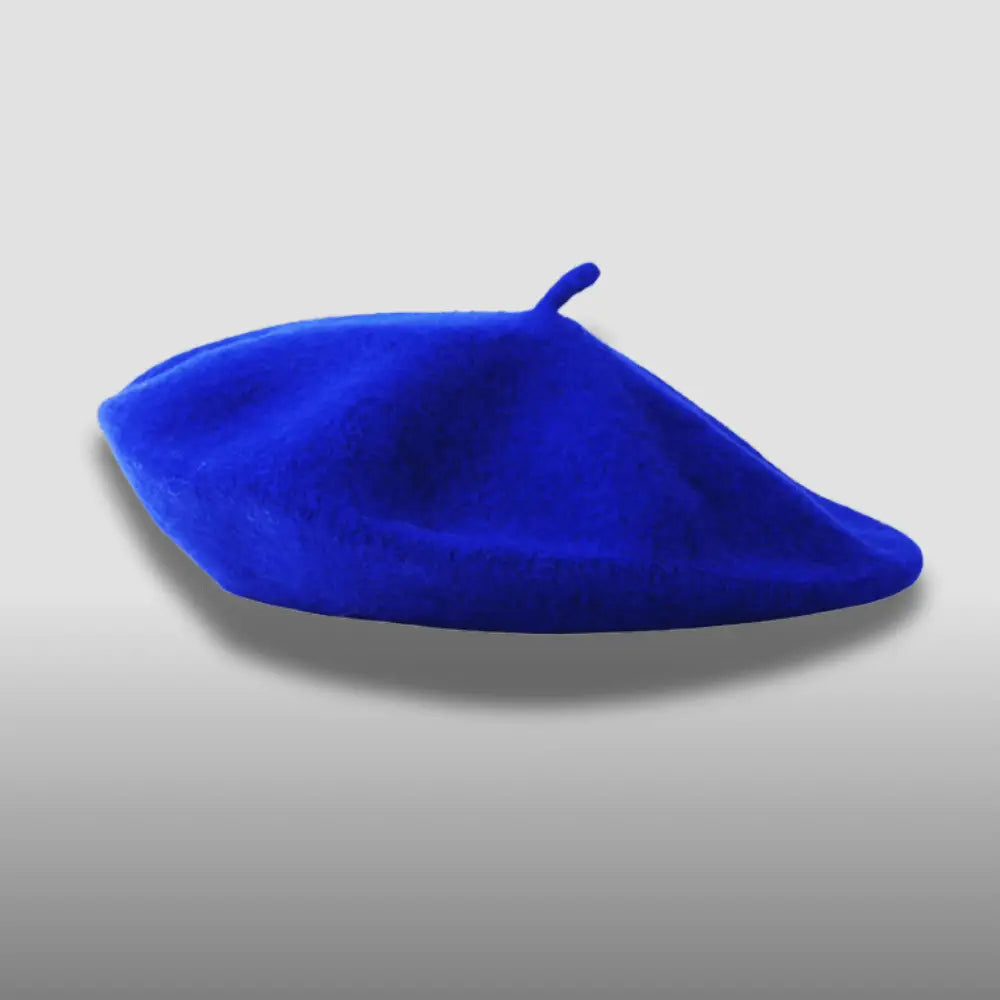
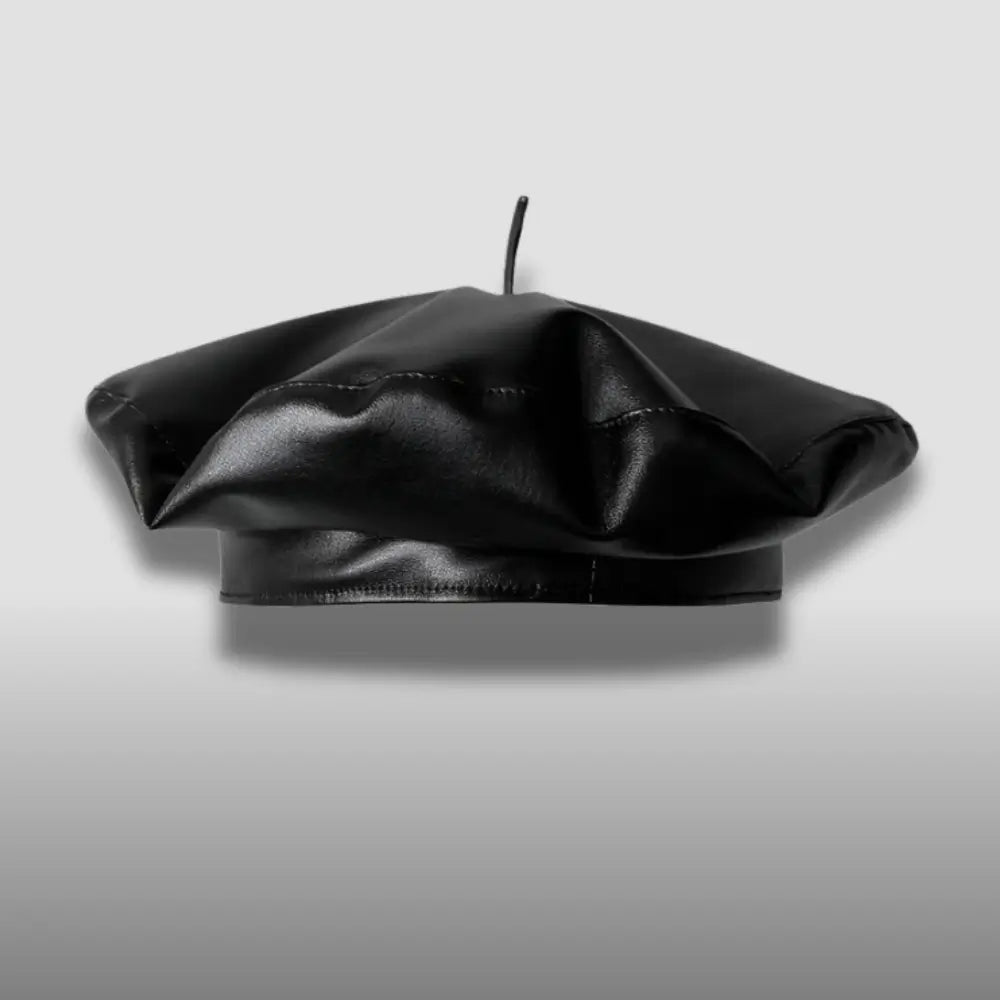
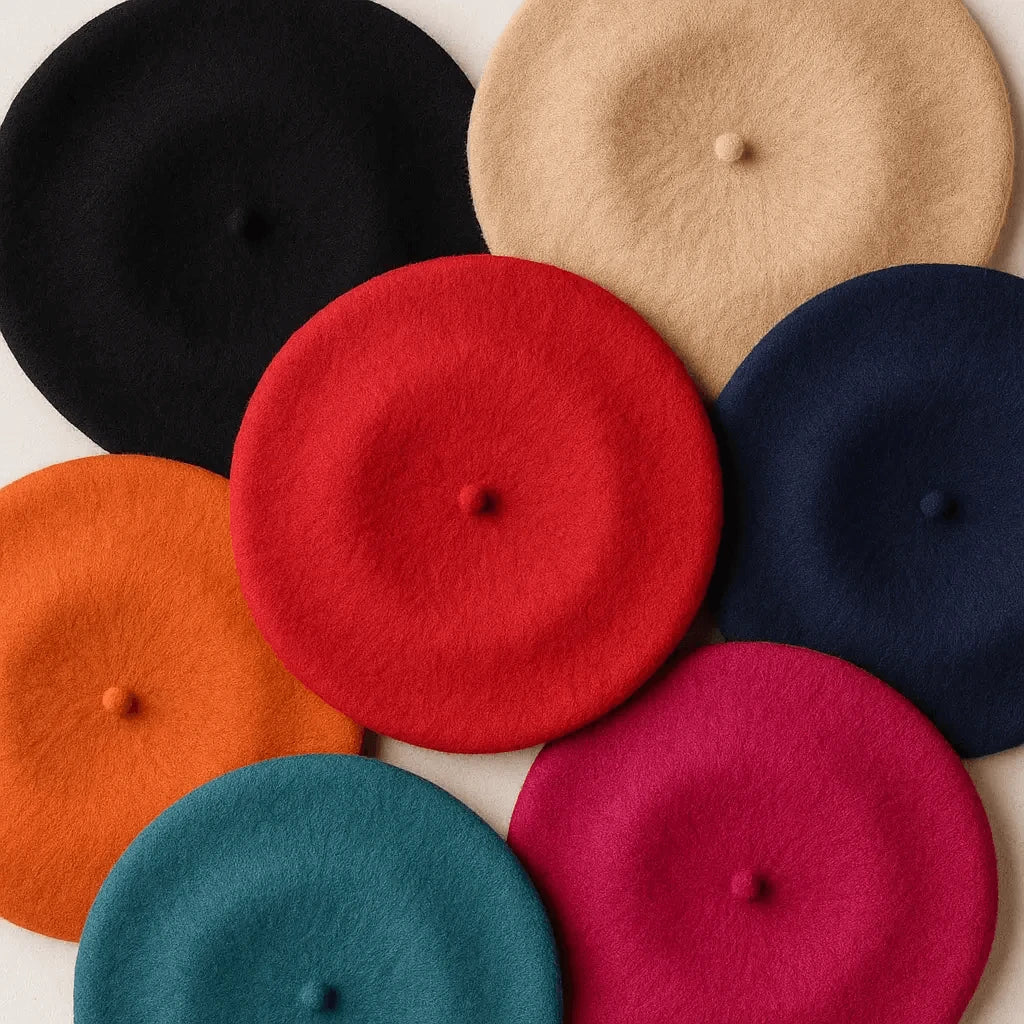
Once you've gathered your materials, it's time to choose the color and pattern for your beret. Consider your wardrobe and personal style when selecting the fabric. Do you want a classic black beret or something more vibrant? Remember, the choice is yours, so have fun with it!

Preparing the Pattern and Cutting the Fabric
Before cutting the fabric, you'll need to prepare the pattern. Start by measuring your head's circumference using a soft measuring tape. Next, sketch a quarter of a circle on a large sheet of paper, using the head circumference measurement as the radius. Cut out the quarter-circle pattern, and use it to cut two quarter-circle pieces from both the fabric and lining fabric.
Once you have the fabric pieces ready, it's time to cut the interfacing. Cut a strip of interfacing in the shape of a headband, approximately 1.5 inches wide and the same length as the head circumference measurement. This strip will provide structure to the beret and help it stay in place.

Constructing the Beret
Now that you have all the necessary pieces, it's time to start constructing your beret. Begin by attaching the interfacing strip to the wrong side of one of the fabric quarter-circle pieces. This will be the beret's brim, so make sure it is centered and aligned. Stitch around the edges of the interfacing, securing it in place.
Next, place the fabric and lining quarter-circle pieces right sides together. Pin or clip them together along the curved edges, leaving the straight edge open. Stitch the curved edges together, using a ½ inch seam allowance. Be sure to leave a small opening along the stitch line to turn the crochet beret right side out later.
After stitching, trim the excess fabric near the curve, making small cuts to help the beret lay flat when turned right side out. Turn the beret right side out through the small opening and gently press it with an iron to remove any wrinkles.
Adding the Finishing Touches
With the basic structure of your beret complete, it's time to add the finishing touches that will give it a polished look. Start by hand-sewing the opening used for turning the beret shut, ensuring an invisible stitch. Take your time to ensure a clean finish.
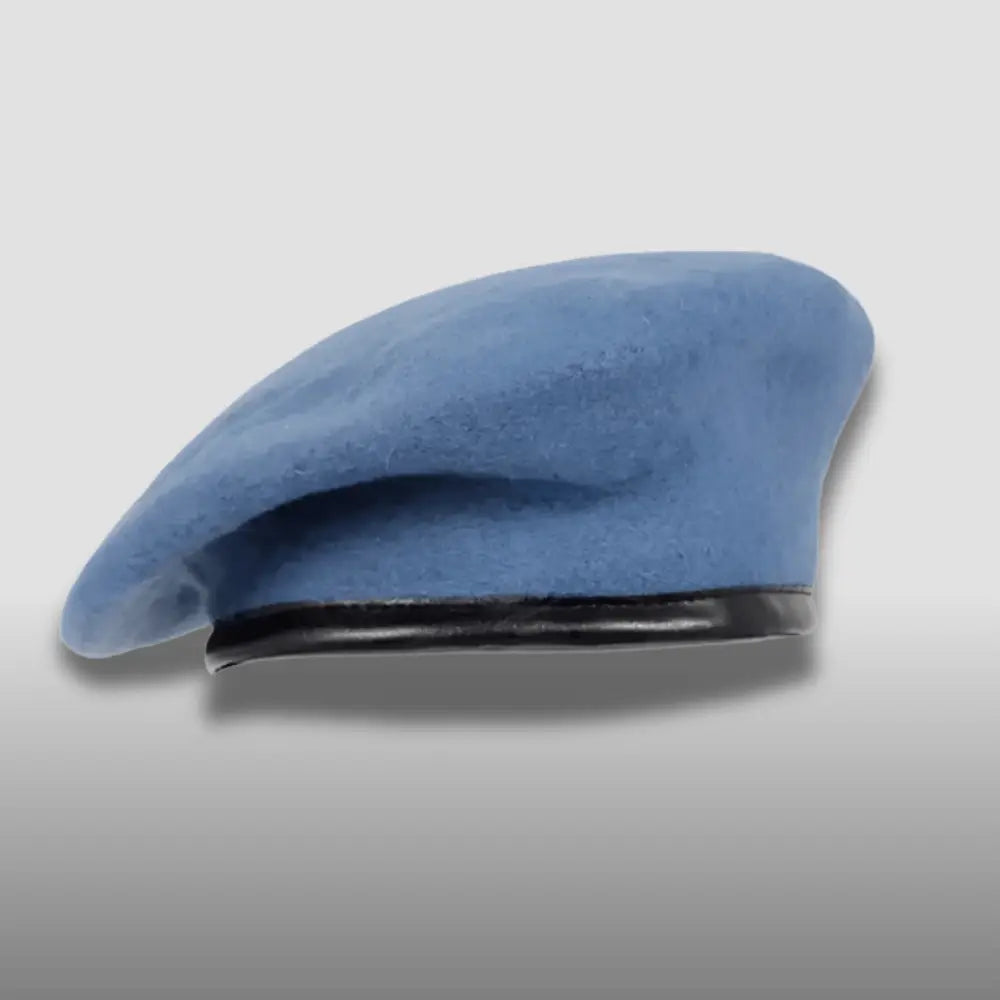
Next, you can attach a decorative trim or band to the brim of the beret. This step is optional but can add a touch of personality to your creation. Consider using a contrasting fabric, a ribbon, or even a brooch to add a unique element to your beret.
Styling and Wearing Your Beret
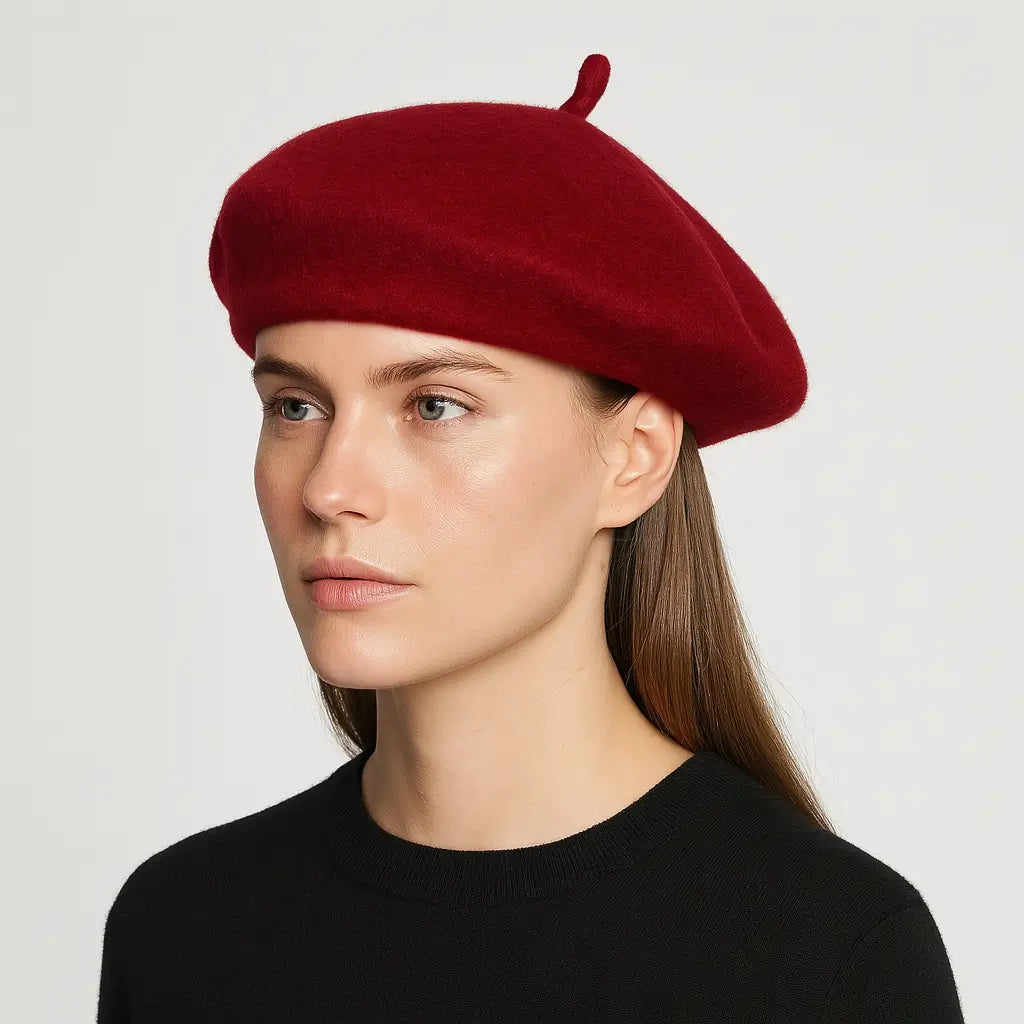
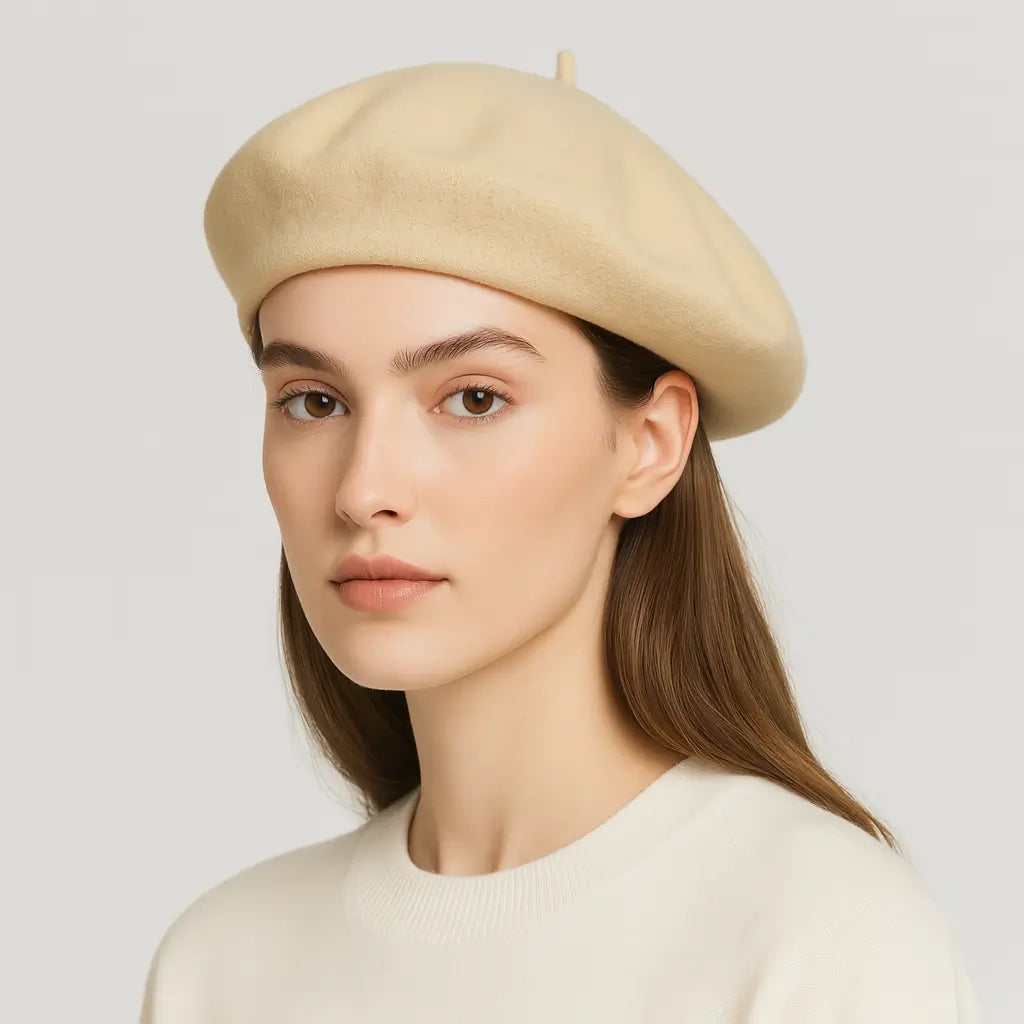
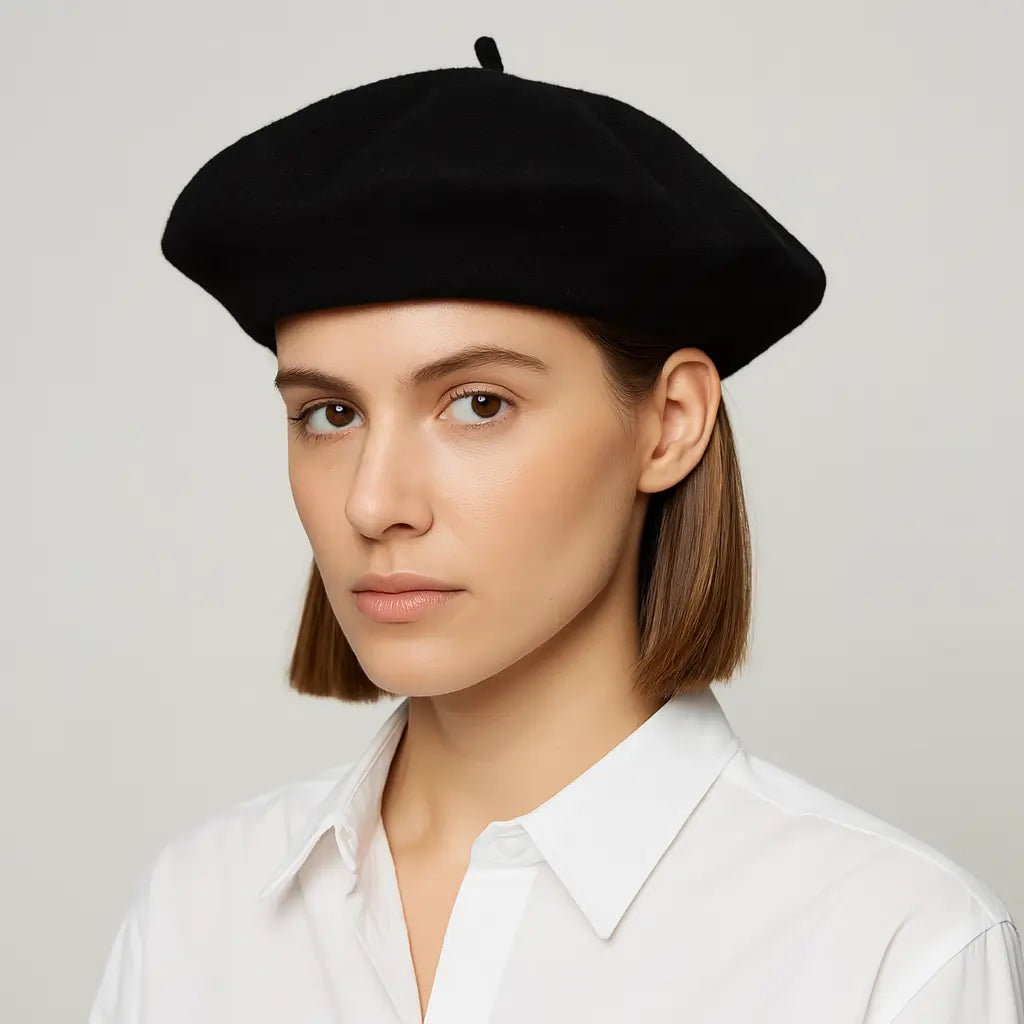
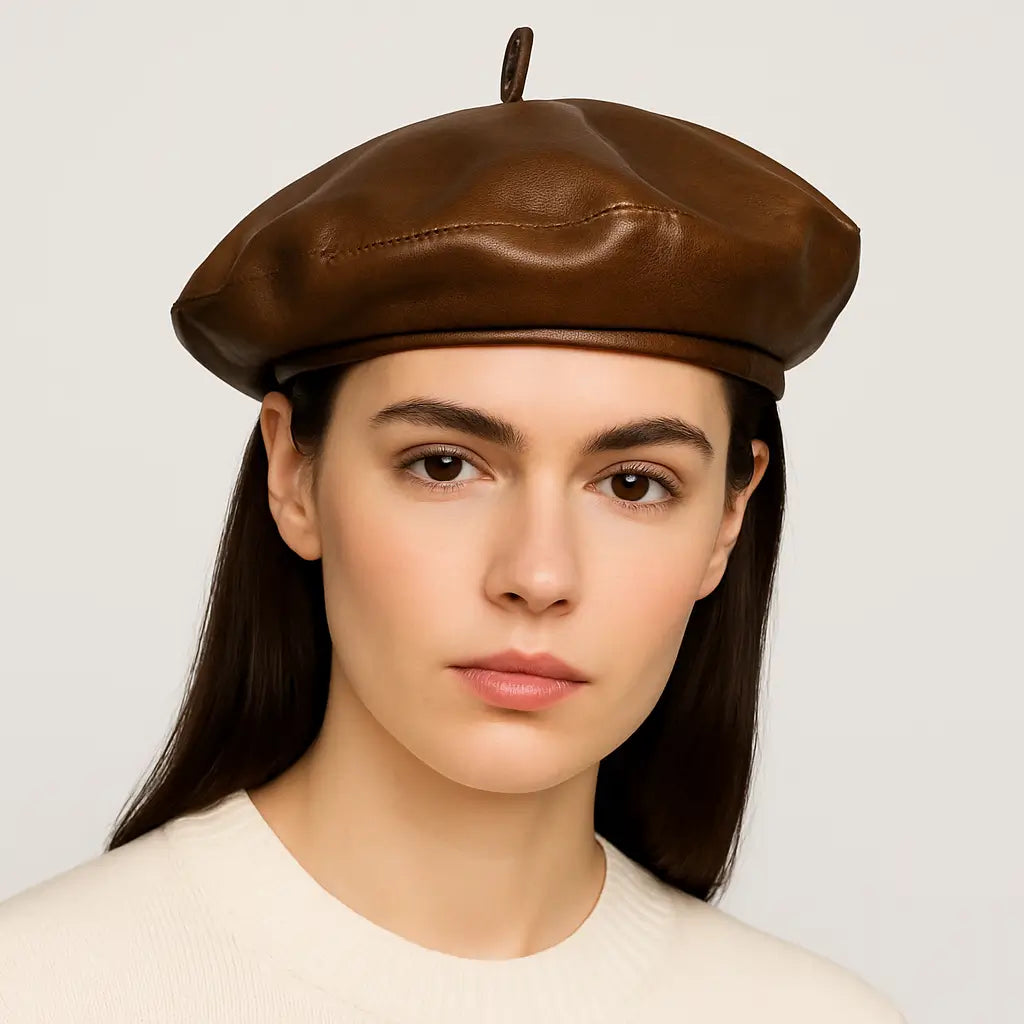
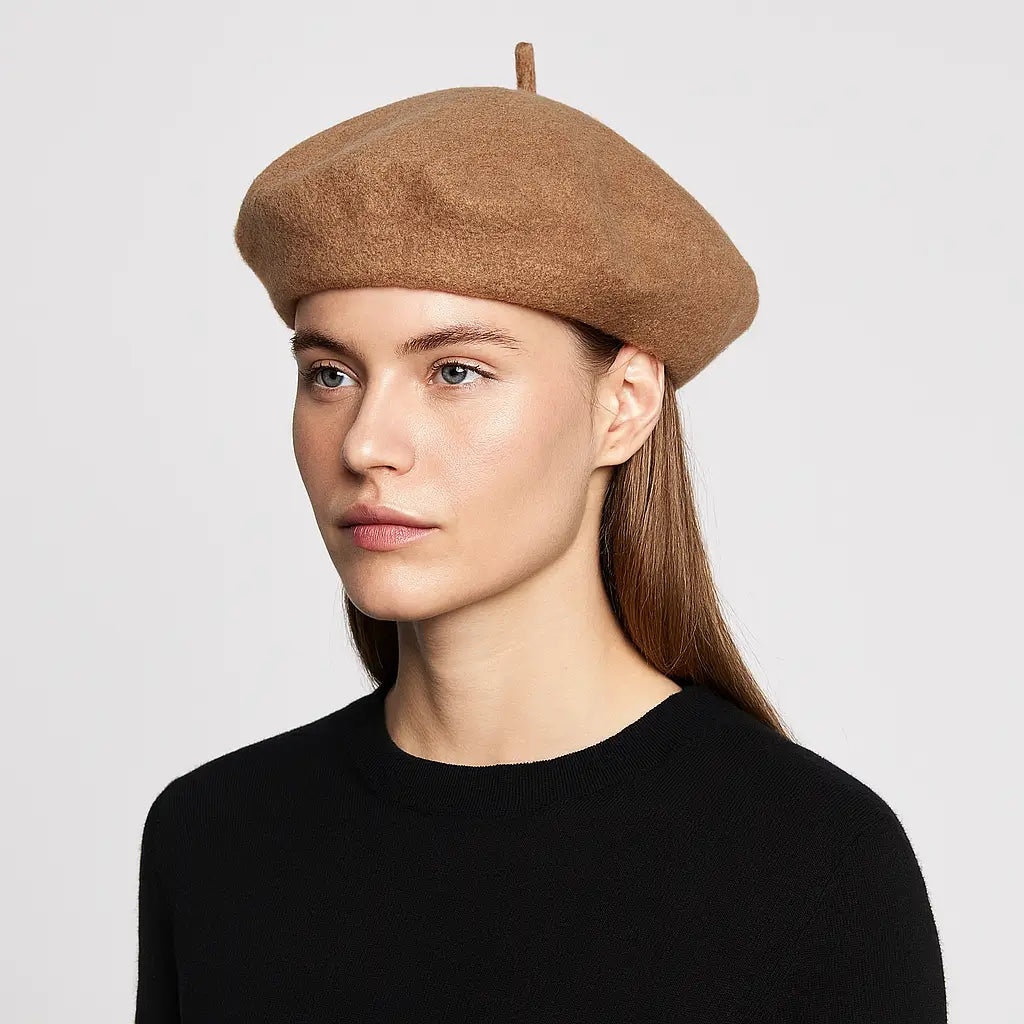
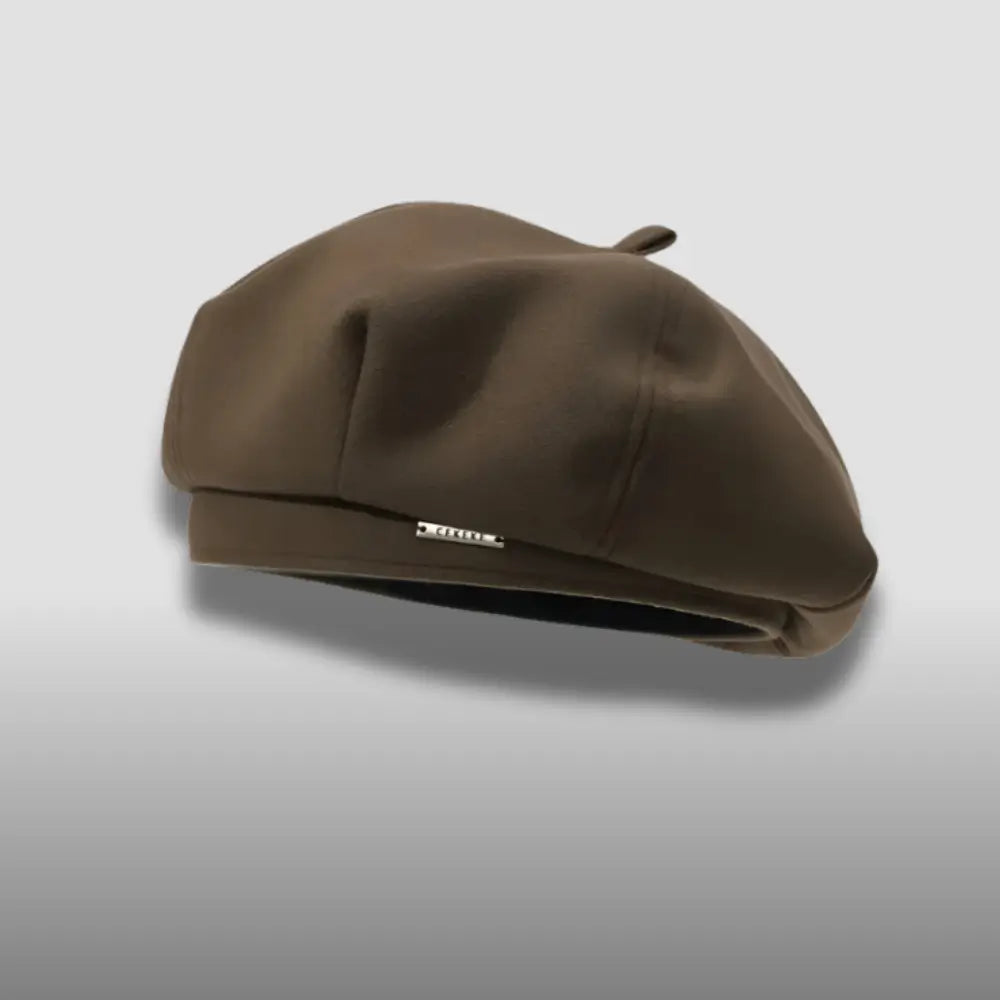
Now that your beret is complete, it's time to style and wear it with confidence. To wear a beret, simply place it on your head and adjust it until it sits comfortably and securely. You can position the beret slightly to the side or at a slant for added style.
Pair your beret with various outfits to create a chic and trendy look. Whether you're going for a classic French vibe or a modern and edgy statement, a beret can be a versatile accessory.

Taking Care of Your Beret
To keep your beret looking its best, there are a few care tips to keep in mind. If your beret becomes wrinkled, you can lightly steam it or use a fabric-friendly iron to remove any creases. Avoid washing your beret in a washing machine, as this can damage the shape and fabric. Instead, spot clean it with a damp cloth or take it to a trusted dry cleaner for professional care.
In conclusion, making a beret is a fun and rewarding DIY project. By following these step-by-step instructions, you can create a stylish and personalized beret that perfectly complements your wardrobe. Remember to choose high-quality materials, pay attention to detail, and have fun throughout the process. With a little creativity and craftsmanship, you'll be rocking your handmade beret in no time!
Thank you for reading this article! As our way of showing gratitude, please enjoy an exclusive 10% discount at our online store French Beret. Simply enter the code BLOG10 at checkout to embrace timeless French style, quality fabrics, sophisticated accessories, cultural heritage, and a classic minimalist aesthetic. Happy shopping!