Short answer: you put a badge on a beret in one of two ways, a pin back that clips through the felt, or a few small stitches that hold it for good. Pin it if you like to change the look, stitch it if the badge has a permanent home. Either way, set it low on the left side so it sits right when the beret is tilted.
I am Camille, and I shape and finish berets by hand in the Béarn. A badge is one of the oldest ways to make a beret your own, from military insignia to a small enamel pin. Here is how to attach one cleanly, where to place it, and how to keep the felt sound while you do it.
- Two methods: a pin back badge that clips on, or a badge sewn on for good.
- Pin it if you want to swap it. Stitch it if it has a permanent home.
- Place a badge low on the left side, near your temple when tilted.
- Pin through the band or a double layer of felt so no single hole shows.
- A firm, densely woven wool beret holds a badge best and keeps its shape.
The short answer
Short on time? Here is how the two ways to attach a badge compare, so you can pick the one that matches how often you plan to change it. The full method for each follows below.
| Method | Hold | Best for |
|---|---|---|
| Pin back | Removable | Swapping badges, no sewing |
| Sewn on | Permanent | One badge with a lasting home |
| Brooch clasp | Removable | Decorative pins and motifs |
Choose the right badge and base
A badge only looks right on a beret that holds a firm shape. A soft, densely woven wool beret gives the pin or thread something solid to grip, so the badge sits flat instead of sagging the felt around it. A plain solid colour also lets the badge read clearly, which is why black is the classic choice for any insignia or enamel pin.
Match the weight of the badge to the beret too. A small enamel pin suits almost any beret, while a heavier metal insignia needs a firm wool base so it does not drag the fabric down on one side.
Who a classic black base suits best
Anyone attaching military or club insignia, collectors of enamel pins, and wearers who want the badge, not the beret, to be the thing people notice.

★★★★★ 4.8 · 62 reviews
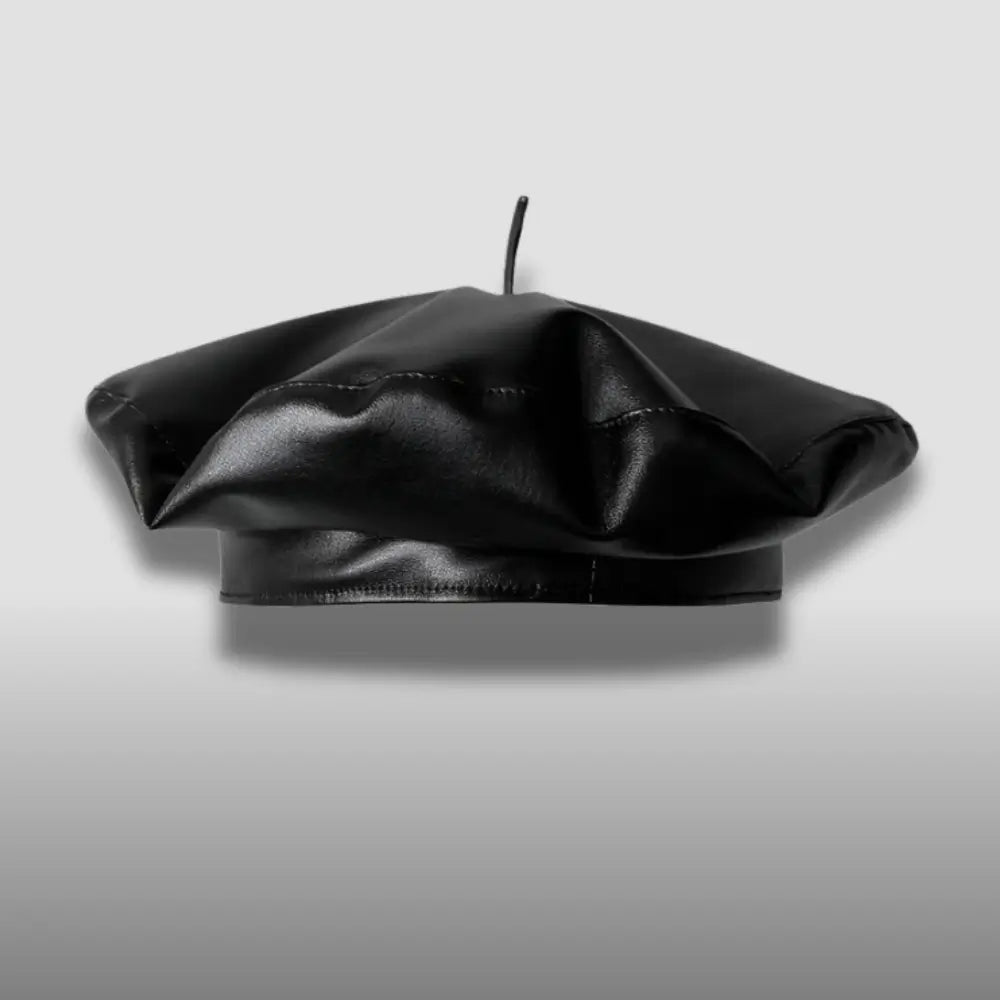
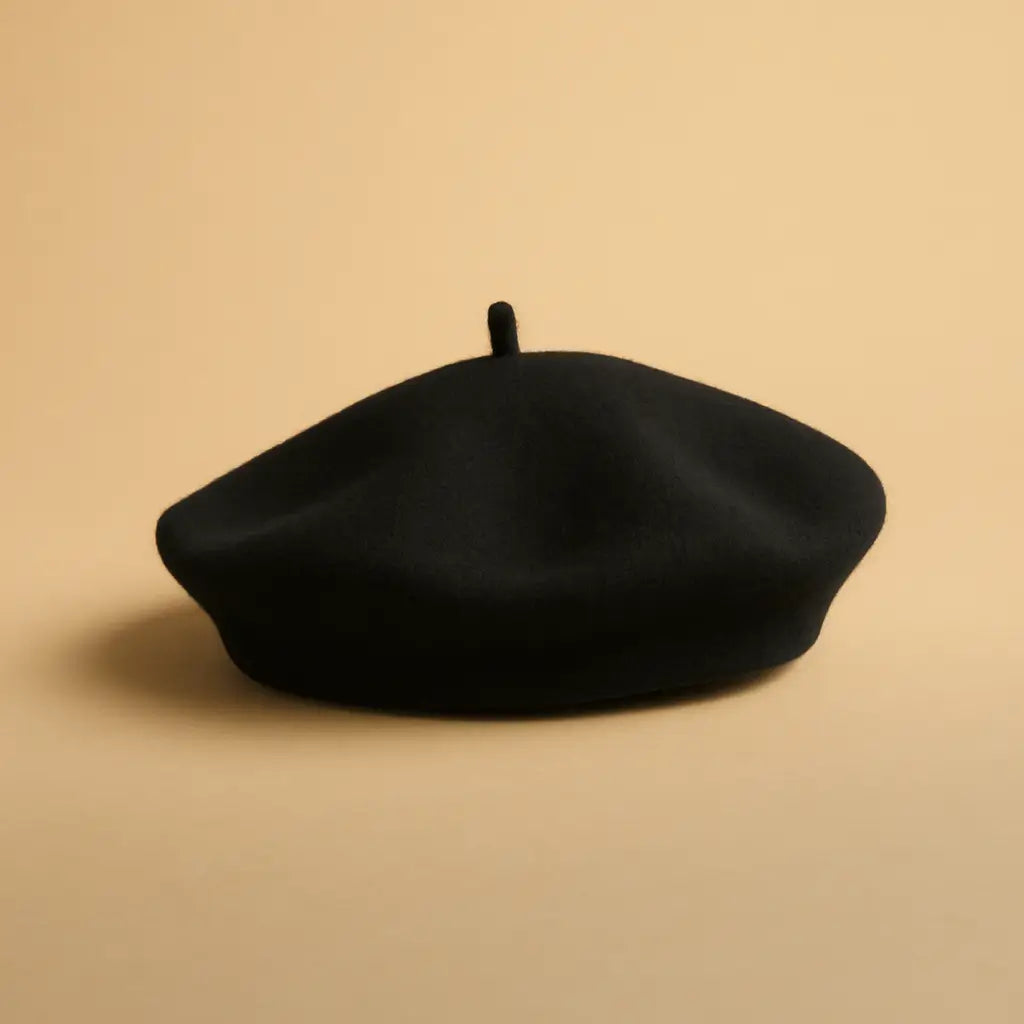
Black French Beret
A firm matte wool base that holds a badge flat and shows insignia clearly. The classic choice for any pin, patch or enamel motif.
Shop now · $39Push a pin through the inner band or a double thickness of felt rather than the single layer of the crown. The extra layer hides the pinhole completely, spreads the weight so the badge sits flat, and means no mark shows if you ever take the badge off.
The pin back method, no sewing
A pin back badge is the quickest to attach and the easiest to change, which makes it the right choice if you like to swap badges with your outfit. Decide exactly where the badge should sit before you push the pin through, because moving it around leaves extra holes in the felt.
Open the clasp, push the pin through the band from the outside, then bring it back out a few millimetres along and close the clasp against the inside. Going in and out through a double layer keeps the badge upright and stops it drooping. If you enjoy this kind of personalising, our guide on how to decorate a beret covers brooches, ribbons and flowers too.
Who the pin back method suits best
Anyone who likes to change a badge often, people wearing club or event pins, and wearers who want zero permanent marks on the felt.

★★★★★ 4.9 · 75 reviews
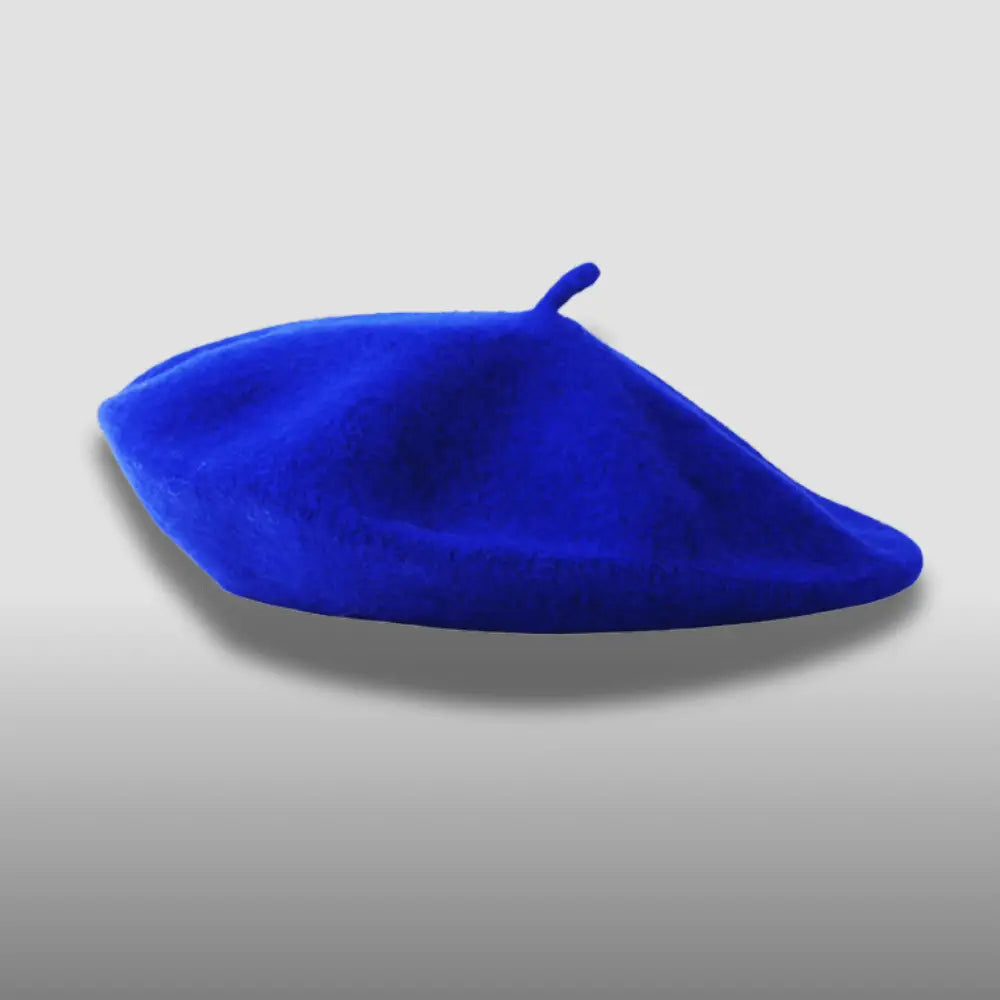
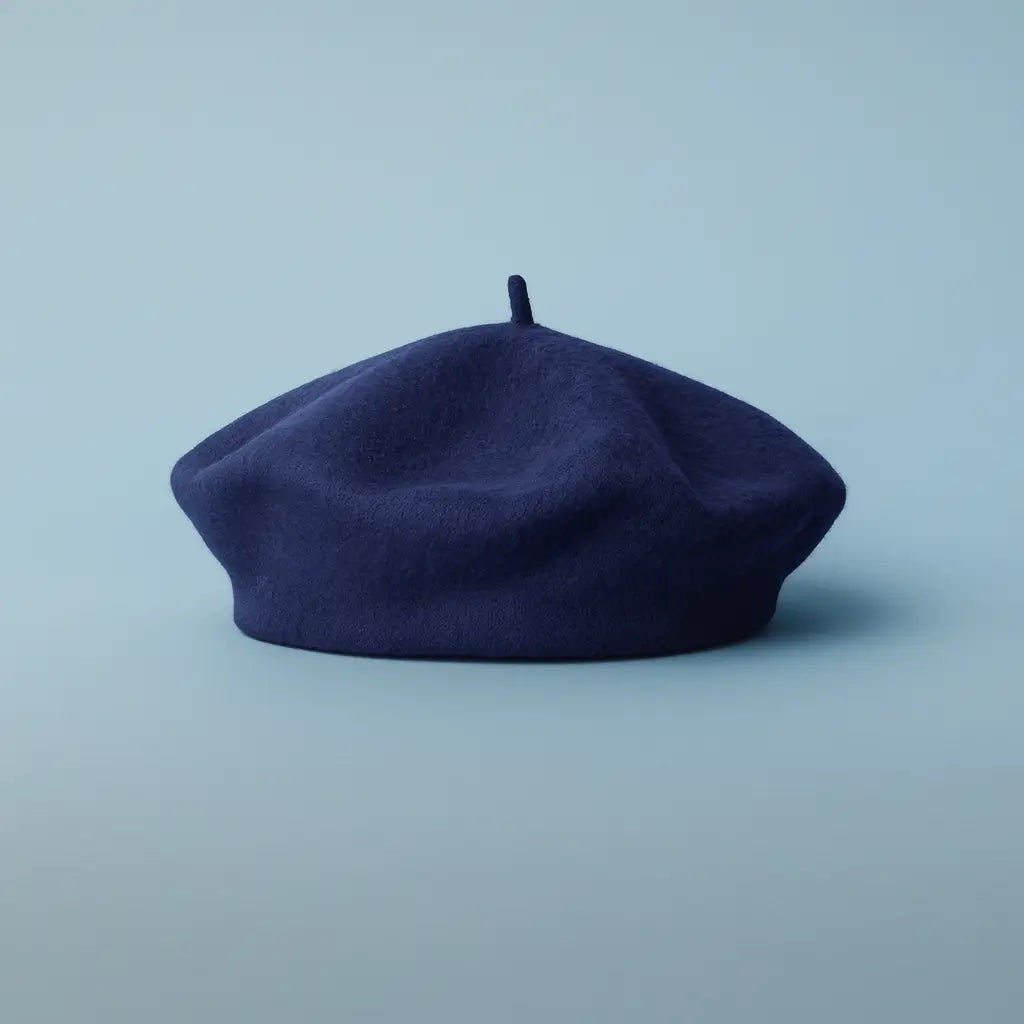
Navy Blue Beret
A firm navy wool base with a smart, uniform feel that suits insignia and enamel pins. Our best selling classic colour after black.
Shop now · $45The sewn method, permanent
Sewing is the right method when a badge has a permanent home, an embroidered patch or a piece of insignia you never plan to move. It sits flatter than a pin and never falls off, though it does leave a mark if you later unpick it, so choose the spot with care first.
Thread a needle in a colour that matches the beret, not the badge, and work small stitches around the very edge of the patch, catching only the top layer of felt so the thread never shows inside. Four to six evenly spaced stitches hold a small badge, more for a larger one. Keep the tension gentle so the felt does not pucker.

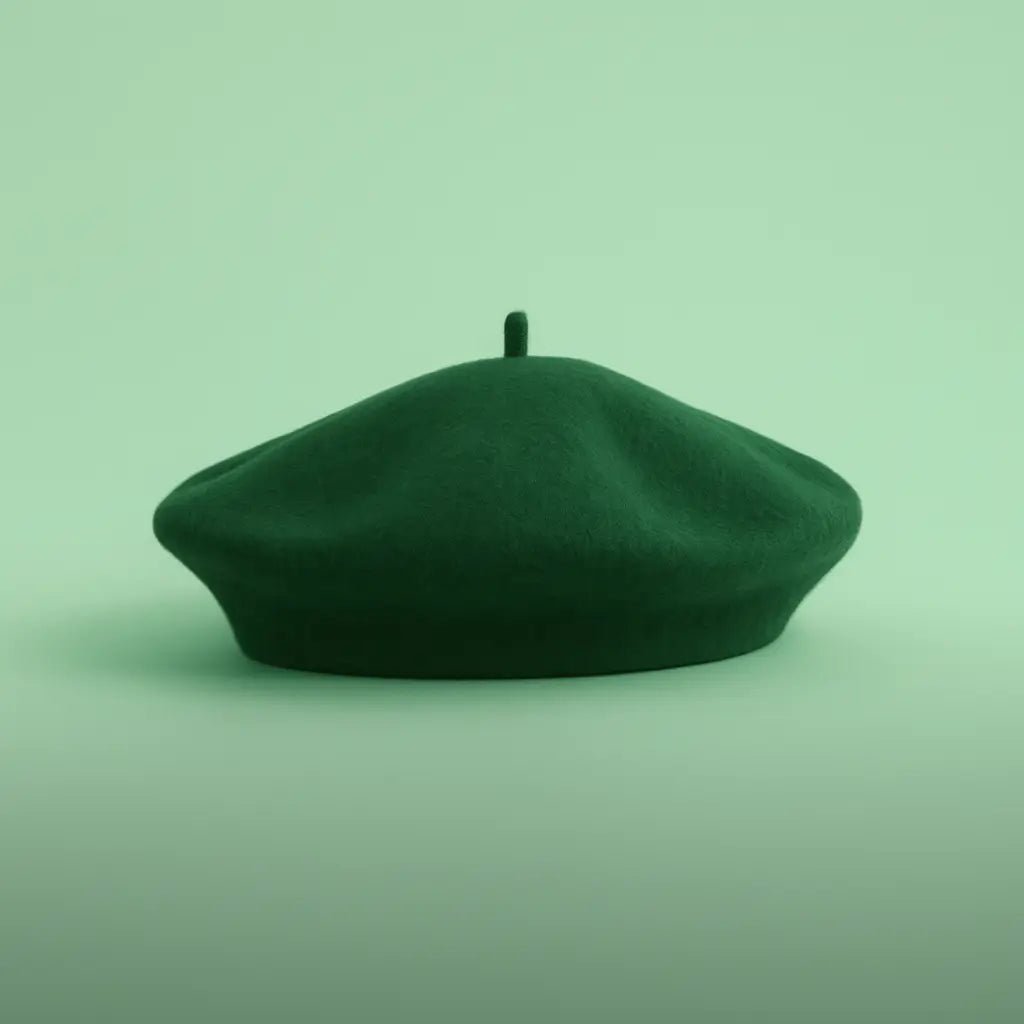
A rich colour like a deep green carries insignia handsomely and hides stitching well, which is why it has long been a favourite for military and club berets. Keep the thread matched to the beret and your stitches stay invisible from a step away.
Who the sewn method suits best
Anyone attaching a patch for good, wearers of military or heritage insignia, and people who want the flattest, most secure finish.

★★★★★ 4.8 · 89 reviews
French Green Beret
A deep green wool base that carries insignia and patches handsomely and hides stitching. A heritage colour with a firm, badge ready weave.
Shop now · $45Where to place a badge on a beret
Placement is what separates a badge that looks right from one that looks stuck on. The traditional position, and the most flattering, is low on the left side, so the badge sits just above your left temple when the beret is pulled to the right.
- Left side, low: the classic military and everyday position, near the temple.
- Front left of centre: a softer, more decorative spot for enamel pins.
- Never the flat crown: a badge on top drags the shape and looks off balance.
Whichever spot you choose, tilt the beret the way you actually wear it before you fix anything, and check it in a mirror. For the tilt itself, our guide on how to wear a French beret shows the angles that flatter most.
Keeping the felt sound
A badge puts a little stress on one spot of the beret, so a few habits keep the felt and the shape in good order.
- Take a heavy pin back badge off before storing, so its weight does not dent the crown.
- Reuse the same holes when you re attach a pin, rather than making new ones each time.
- Store the beret stuffed lightly or on a round surface so the badged side keeps its shape.
Never glue or iron a badge onto a wool beret. Hot glue and iron-on backing scorch and stiffen the felt, leave a hard patch you cannot remove, and mark the wool for good. Pin or stitch every time, so the beret stays sound and the badge can be moved later.
Frequently asked questions
Use a pin back badge or a brooch clasp. Push the pin through the band or a double layer of felt and close the clasp inside, so it holds flat and leaves no mark when you remove it.
Traditionally the left, sitting low near your temple when the beret is pulled to the right. It is the classic military position and the most flattering.
Use thread matched to the beret, not the badge, and work small stitches around the edge of the patch, catching only the top layer of felt. Keep the tension gentle so the wool does not pucker.
Not if you pin or stitch into the band and reuse the same holes. Glue and iron-on backing are what mark the felt permanently, so avoid them entirely.
A firm, densely woven wool beret in a solid colour. It holds the badge flat, keeps its shape under the weight, and shows insignia clearly.
So, how do you put a badge on a beret? Pick a firm wool base, pin it if you want to swap it or stitch it if it has a permanent home, and set it low on the left. Done with a little care, a badge turns a plain beret into something that is unmistakably yours.


Worn well, never overthought.
Camille